Permissions and User Management
This section is enabled only for administrators or personnel with the corresponding permission.
🚫 Permissions
Permissions can be customized according to the end-user's needs. There are two default roles on the platform: observer and admin, each with different characteristics:
This user can only view the data of the company to which they have been assigned. The default permissions do not allow them to download information or access features like the heat map; they can only consult data and locations.
This is the account administrator, the highest role in the Elenix hierarchy. In addition to viewing and downloading information, they can add users, locations, and companies, as well as assign special features. For example, they can assign one or more observers to download information or view the heat map. This role is recommended for IT staff and managers.
📋 User Management
This section is displayed in the sidebar with the name "Users".
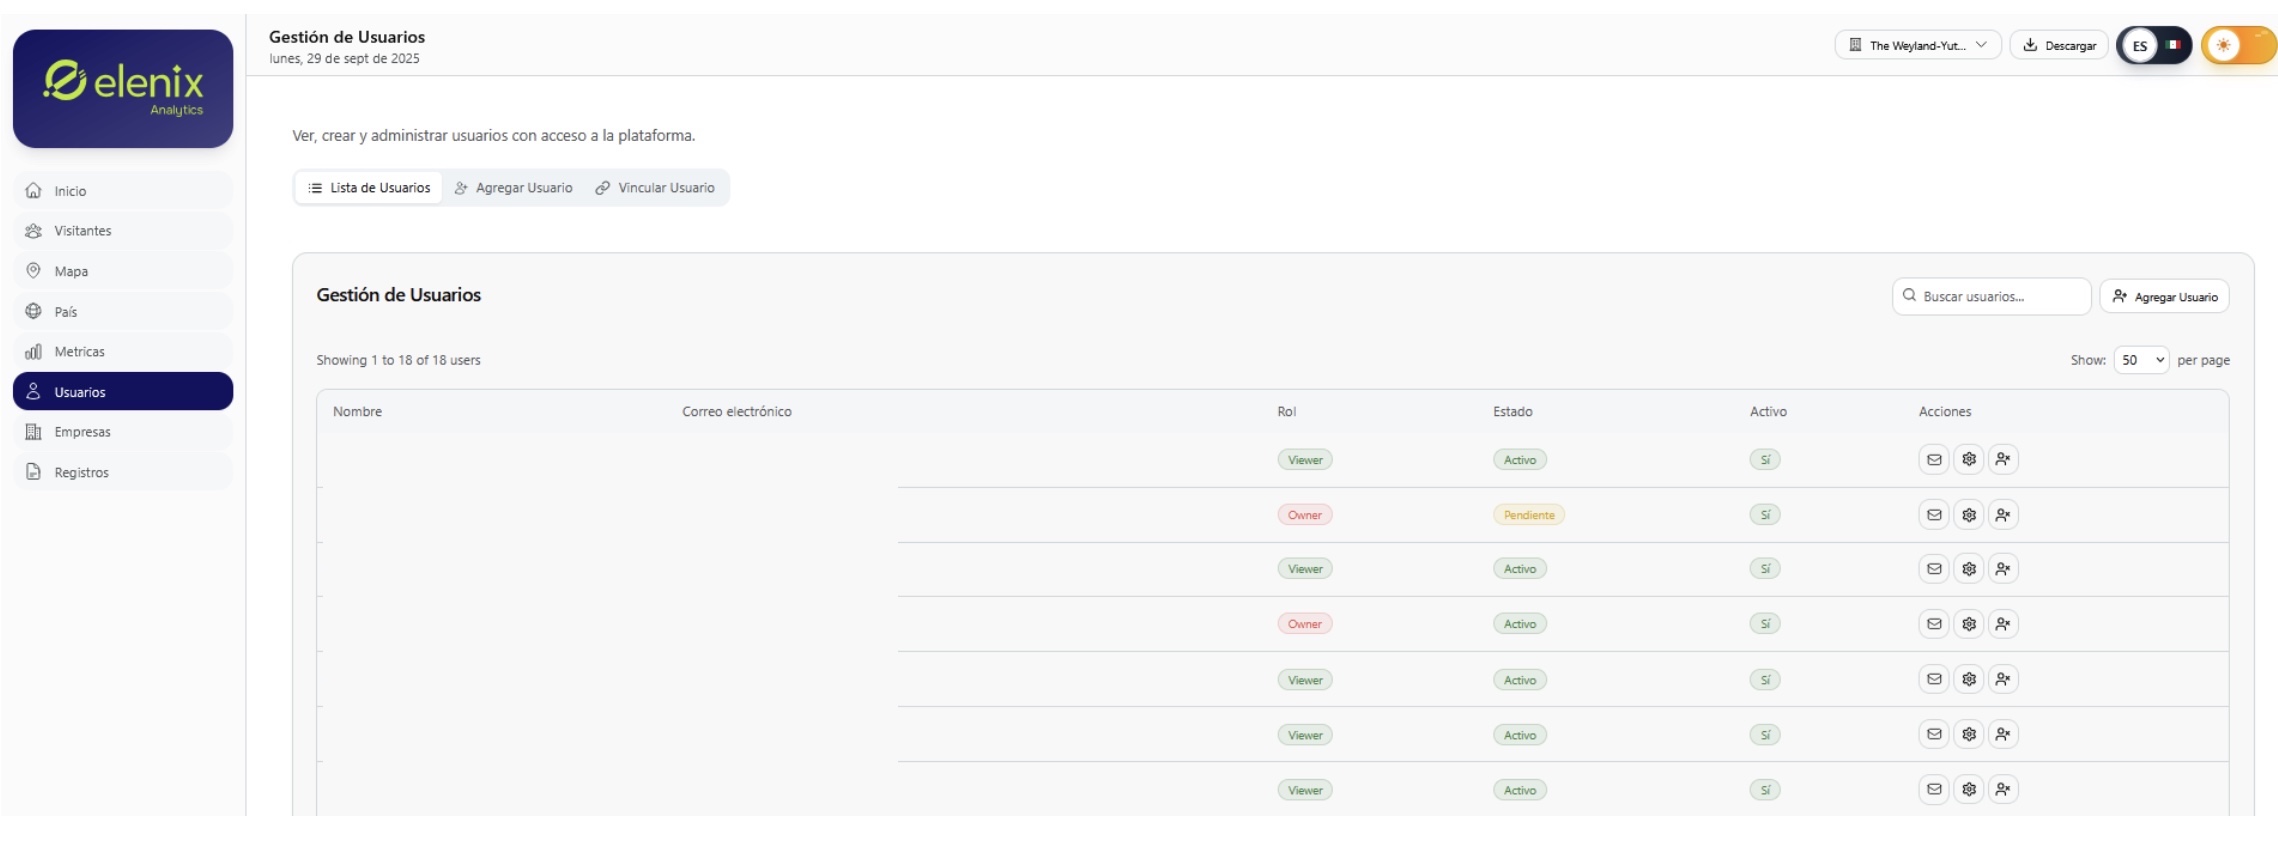
In the upper right corner, there are three options: "User List," "Add User," and "Link User"
The default view is "User List," which shows a list of users along with their role, status, and confirmation if they are active. Under actions, three icons are displayed, which have the following features:
 Resend credentials
If a user wants to change their password, has not received the registration email, or wants to change the device where they have their authentication app, this button will send the initial email again, just like the first time.
This button allows you to change the user's hierarchy, for example, if they were registered as an observer and you want to assign them as an admin, or vice versa.
 Deactivate user
With this button, we can deactivate users from the platform.
Secondly, we have "Add User" to register a new user. The following window will be displayed.

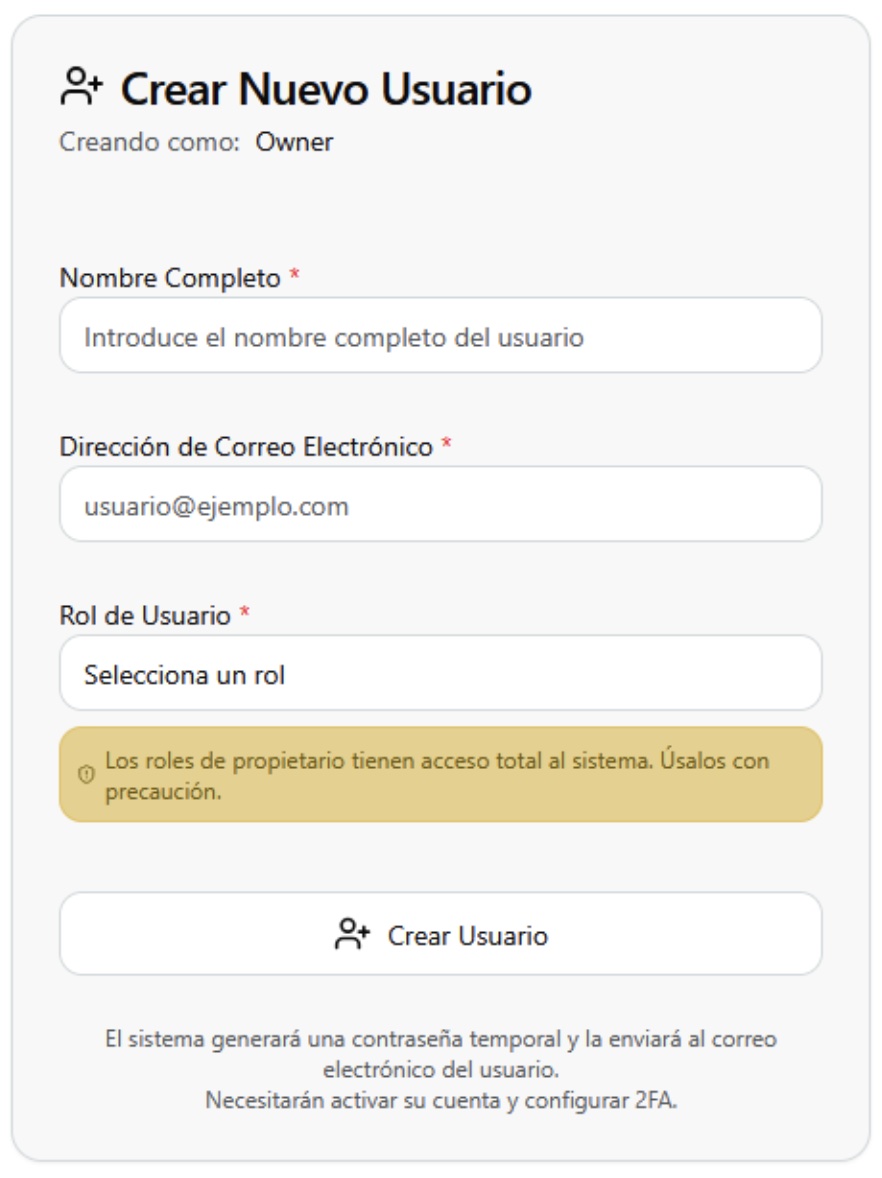
First, enter the full name of the user to be activated, then the email address that will be linked to the account, and finally the role to be assigned (observer or admin). To finish, the "Create User" button completes the registration and sends the email for account setup. Finally, "Link User" is used to assign a user to two or more companies.
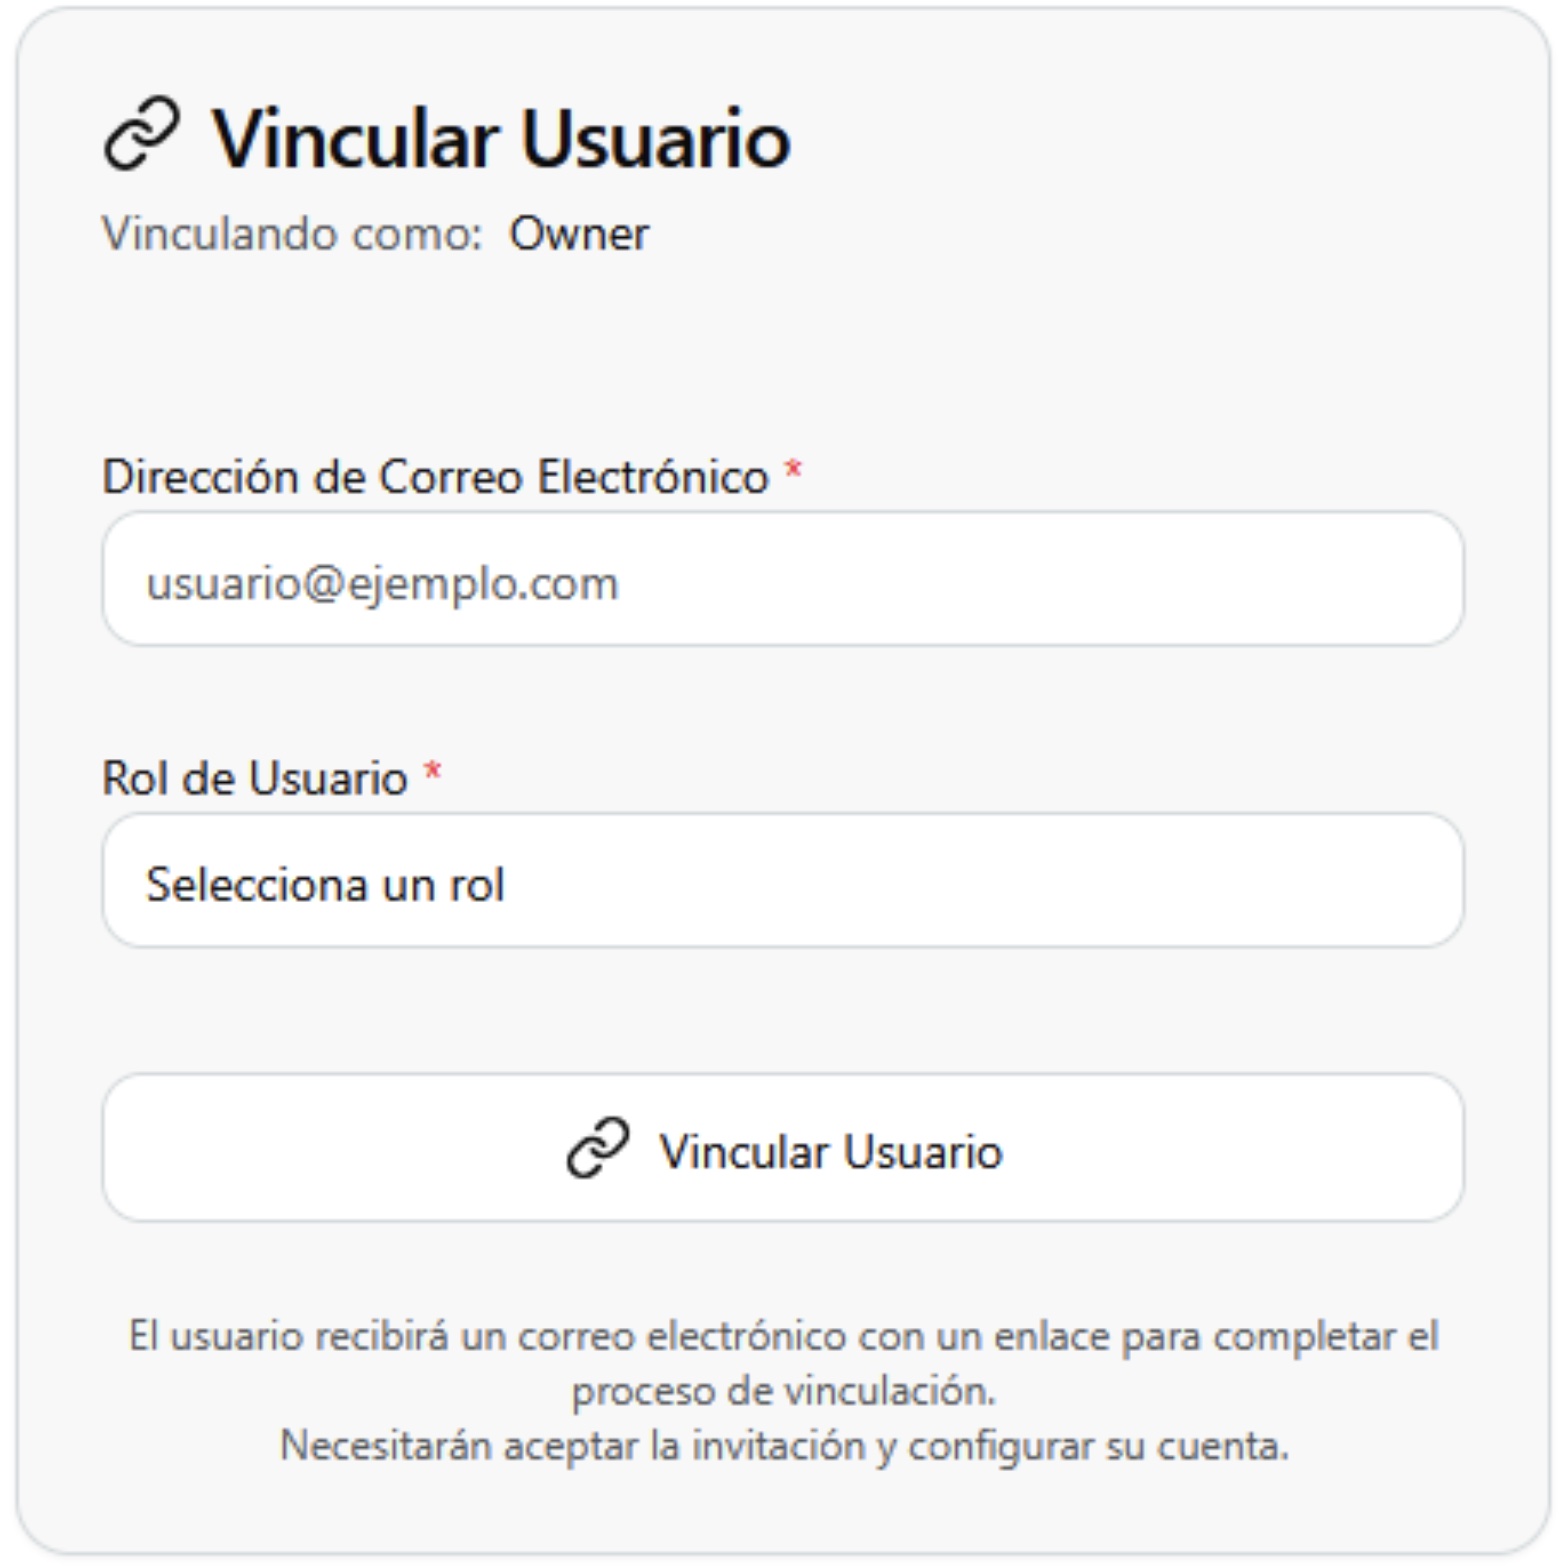
If we have John Doe assigned to "Company 1" as his default company, with link user we can also assign him to "Company 2" and "Company 3" if necessary. A role will also be assigned for each linked company.